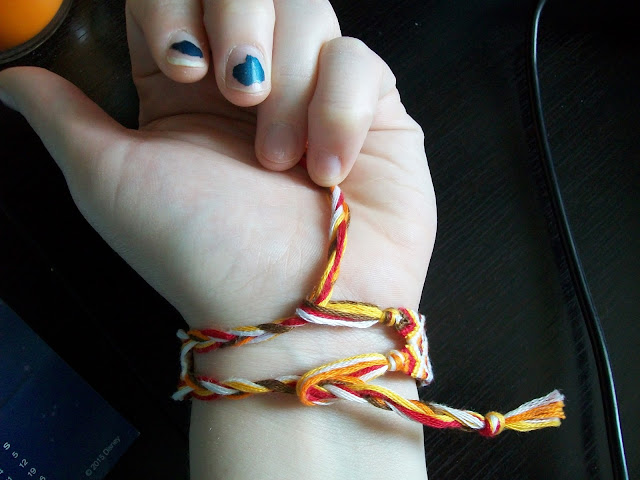
Single Loop
For a friendship bracelet with just one loop at the top, you start by putting one of the braided ends through the loop.
Hold onto that end as you slip the bracelet onto your wrist. If the bracelet is the proper size, this shouldn't be difficult. Once the bracelet is on your wrist, pull on the end to adjust it to the size you would like it to be.
Now all that's left is to tie the bracelet. Take the end that is through the loop and hold it in the palm of the hand the bracelet is on with your fingers.
Then use your free hand to tie a double knot around the end that you are holding (not too tight, or the bracelet will be difficult to take off). Then you're done!
Double Loop
Some friendship bracelets start out as two bracelets, so they have more than one loop. Putting these on is almost the same as tying on a bracelet with one loop, with a few minor differences. First, put one braided end through each loop at the top.
Hold onto the ends while you slip the bracelet onto your wrist, and pull to adjust it to the proper size.
Hold one of the braided ends in the palm of the hand that the bracelet is on.
Then use your free hand to tie the a single knot around the end that you are holding with your fingers. And that's it!
It may seem difficult at first, but after a while it'll be easy to tie on your own friendship bracelets. Hope this helps! Both bracelets used in this tutorial can be found in my Etsy shop: https://www.etsy.com/shop/schmidtybracelets. Feel free to check it out, and I'll be posting again tomorrow!


No comments:
Post a Comment